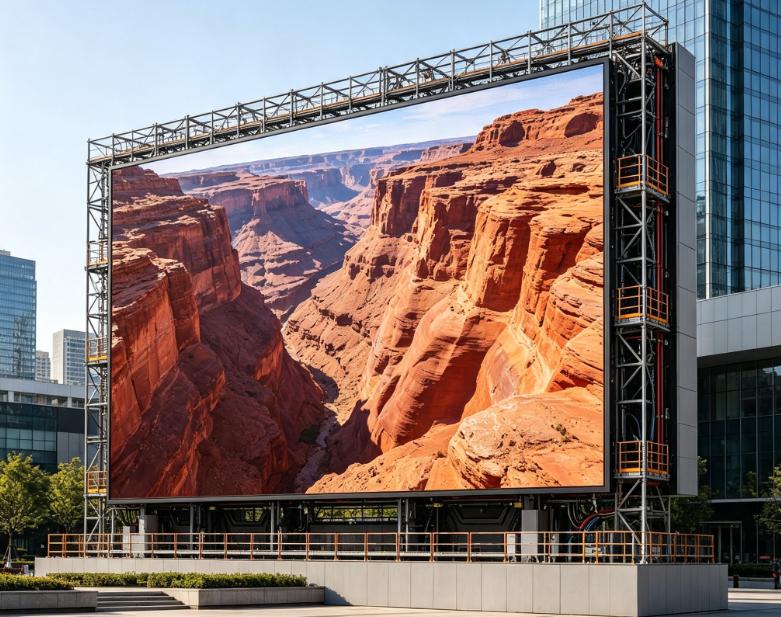
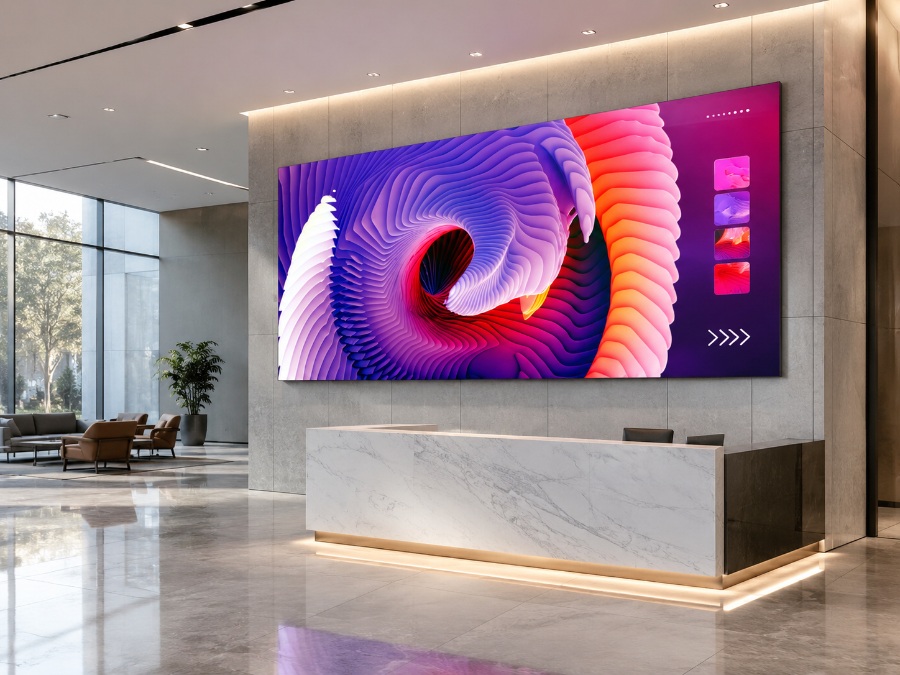
Как светодиодный дисплей преобразует видео в свет?

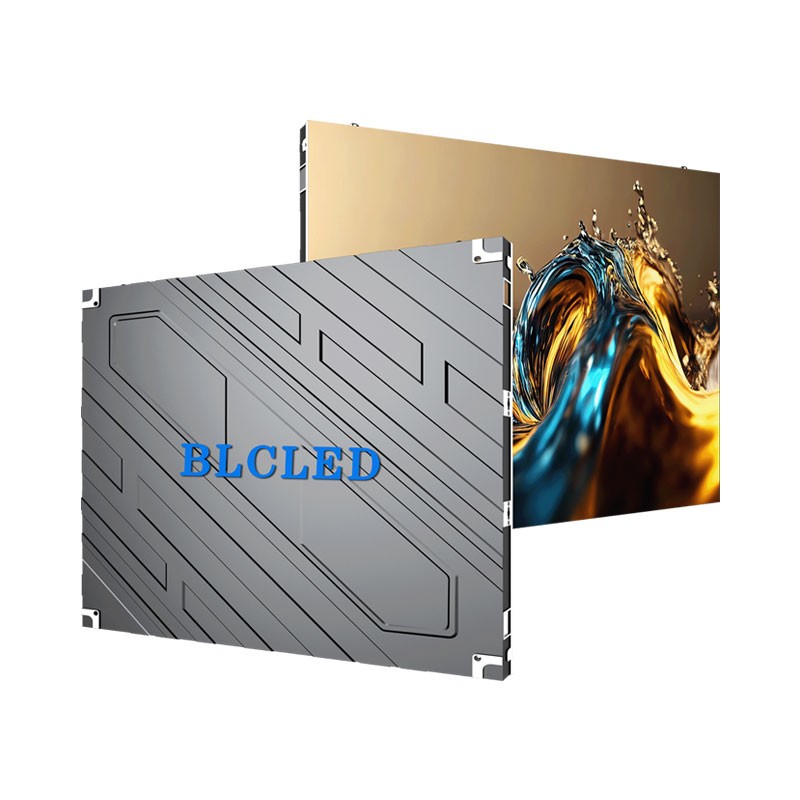
Покупатель может видеть яркое изображение на светодиодном экране, не понимая всей цепочки принимаемых решений. Знание того, как работает эта цепочка, упрощает выбор контента, расстояния просмотра и доступа к услугам, не позволяя воспринимать экран как загадочный черный ящик. Изображение начинается с отображенных пиксельных данных. Светодиодный дисплей начинает работу с видеоисточника, но он не может отобразить этот источник, пока процессор не сопоставит изображение с физической пиксельной матрицей. Ноутбук, медиаплеер, камера или контроллер отправляют контент процессору. Видеопроцессор и система управления масштабируют и отображают входящее изображение на экране. Затем принимающие платы распределяют сопоставленные данные отображения соответствующим модулям. Именно поэтому при выборе светодиодного экрана следует учитывать его реальное содержимое и предполагаемый размер полотна. Широкая приветственная стена, сценический фон и узкая информационная полоса — все это может быть светодиодное освещение, однако приоритеты в отображении контента и его содержании изначально различаются. Каждый пиксель смешивает три управляемых цвета. Каждый полноцветный пиксель использует источники света красного, зеленого и синего цветов. Контроллер изменяет их относительную мощность для создания цвета и яркости, необходимых в данной точке изображения. Для белого поля требуется согласованный вклад всех трех цветовых каналов; для сцены глубокого синего цвета требуется совершенно иное сочетание. Миллионы управляемых комбинаций позволяют создавать видео, текст и графику. Шаг пикселя — это расстояние между центрами соседних пикселей, поэтому он влияет на то, насколько близко зрители могут находиться, прежде чем заметят структуру изображения. Меньший шаг может обеспечить более тонкую детализацию на более близком расстоянии, но он ценен только тогда, когда сообщение действительно нуждается в этой детализации. Правильный вопрос заключается в том, что люди должны прочитать, а не просто в том, какое число наименьшее. Шкаф обеспечивает подачу сигнала и юстировку. Модуль дисплея — это лишь один слой готовой стены. Корпуса обеспечивают механическую конструкцию и выравнивание, а также вмещают источники питания, приемное оборудование, модули и сигнальные соединения, позволяющие отдельным модулям работать как единый дисплей. Если линия корпуса смещена или сигнальный тракт неправильно настроен, технически исправный модуль не сможет обеспечить чистое и непрерывное изображение. По этой причине светодиодные видеопанели для стен планируются как единая система, а не выбираются в качестве отдельных элементов. Перед тем как тестирование контента станет целесообразным, монтажная бригада должна подтвердить компоновку шкафов, возможности контроллеров, прокладку кабелей, электрозащиту и практический маршрут для будущего обслуживания. Этап Что происходит Почему это должно волновать проектную команду поле ввода содержимого Источник отправляет видео- или графический контент на процессор. Разрешение исходного изображения и соотношение сторон влияют на масштабирование и четкость текста. Обработка Процессор сопоставляет каждый кадр с фактическим пиксельным холстом экрана. Правильное сопоставление предотвращает обрезку изображений, растягивание логотипов и неправильное размещение текста. Получение Приемные платы распределяют сопоставленные данные между модулями внутри каждого шкафа. Заранее спланированный путь прохождения сигнала помогает техническим специалистам локализовать неисправность, не нарушая целостность стены. Световой поток Красные, зеленые и синие светодиоды воспроизводят видимые цвета пикселей. Яркость и шаг пикселя должны соответствовать помещению и ближайшему зрителю. Функция обновления обеспечивает согласованность движений. Частота обновления описывает, как часто система управления светодиодами обновляет световой поток, а частота кадров описывает, как часто поступают новые видеокадры. Частота обновления становится особенно важной при отображении быстро движущегося контента и при съемке светодиодного экрана камерой. Это один из факторов качества изображения, наряду с частотой кадров, подготовкой контента, обработкой сигнала, калибровкой, окружающим освещением и физическим состоянием дисплея. Поэтому полноцветный светодиодный дисплей следует оценивать с помощью того материала, который он будет фактически воспроизводить. Медленный навигационный контент может выявить проблемы с компоновкой и выбором контрастности; быстрый видеоролик с демонстрацией товара может выявить плохое масштабирование или слабый путь прохождения сигнала. Тестирование обоих типов перед передачей товара более полезно, чем полагаться только на зацикленную демонстрацию. Отдельный модуль должен оставаться в такт. Светодиодная панель дисплея должна получать правильную информацию о времени и цвете одновременно со своими соседями, иначе изображение может показывать отсутствующий участок, несоответствие времени или видимое несоответствие цветов. Физические швы, напротив, в основном контролируются выравниванием и плоскостностью корпуса. Поэтому при вводе в эксплуатацию следует проводить проверку всего полотна, а не только отдельных модулей. Это самый простой способ убедиться, что весь дисплей ведет себя как единая поверхность. Окружающая обстановка дополняет картину. Один и тот же экран может казаться четким в затененном вестибюле и напряженным рядом с ярким остеклением, поскольку окружающий свет изменяет воспринимаемый контраст. Углы обзора, отражения на поверхностях и обычный маршрут передвижения также влияют на то, что видит аудитория. Эти условия должны определять иерархию контента в той же мере, что и выбор оборудования. Протестируйте мелкий важный текст с наиболее реалистичного места просмотра. Проверьте статичное изображение.Видеоклип и исходный код в реальном времени перед принятием сопоставления. Необходимо документировать доступ к электропитанию, сигналам и услугам для оперативной группы. Когда для проекта требуется большое непрерывное полотно, коммерческий светодиодный дисплей может объединить все эти решения на одной поверхности. Варианты стационарной установки BLC LED для помещений включают высокоточные корпусные конструкции и конфигурации с фронтальным обслуживанием, которые помогают сочетать точную юстировку с удобным доступом для обслуживания в помещении. Практический способ анализа технологии Светодиодная стена работает за счет преобразования отображаемой цифровой информации в управляемый свет в миллионах пикселей. Полезным следующим шагом является применение этого простого принципа к конкретному месту: определение реального контента, выявление ближайшего зрителя, подтверждение физического полотна и планирование обслуживания стены. Такая последовательность позволяет технологии служить цели передачи сообщения, а не превращать проект в формальное составление спецификации. Часто задаваемые вопросы Содержит ли каждый пиксель светодиода красный, зеленый и синий свет? Полноцветный дисплей использует источники света красного, зеленого и синего цветов для формирования видимых цветов пикселей. Точный дизайн упаковки варьируется в зависимости от продукта и области применения. Что изменяется при изменении шага пикселя? Шаг пикселя — это расстояние между пикселями. Он влияет на то, насколько детально можно воспринимать изображение на заданном расстоянии просмотра, и должен соответствовать ближайшей точке обзора, имеющей значение для зрителя. Зачем нужен видеопроцессор? Процессор адаптирует поступающий контент к физическому пиксельному полю экрана, а система управления распределяет сопоставленные данные по соответствующим секциям дисплея. Можно ли на одном и том же светодиодном экране отображать видео в реальном времени и графику? Да, при условии, что источник, процессор, отображение и производительность обновления настроены для предполагаемого материала. Оба параметра следует проверить во время ввода в эксплуатацию. Что должна проверить бригада на объекте перед передачей объекта заказчику? Проверьте фактическое содержимое, схему подключения, яркость установленного освещения, целостность сигнала и безопасный маршрут для планового обслуживания модуля или электропитания.
17th Сентябрь 2026

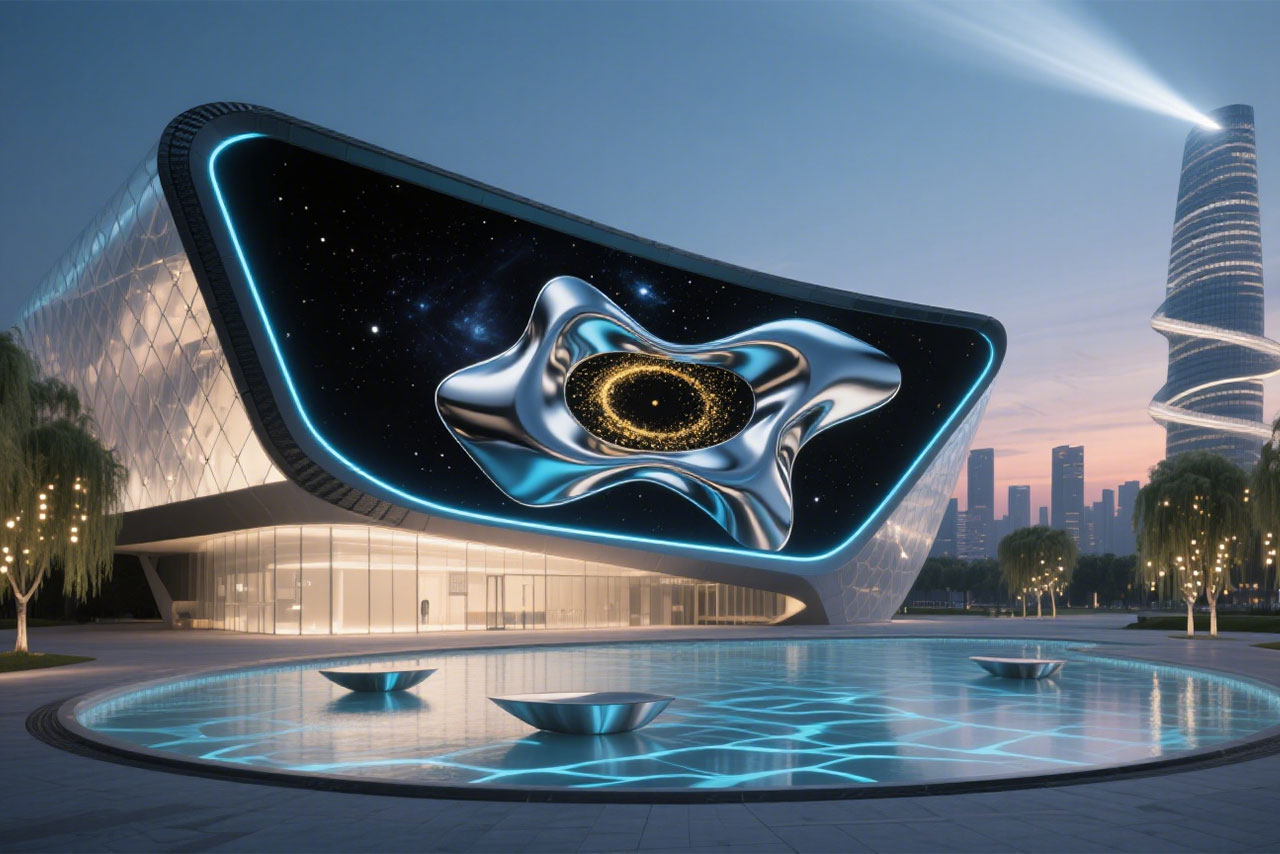
Как гибкие светодиодные экраны повторяют изгибы пространства?

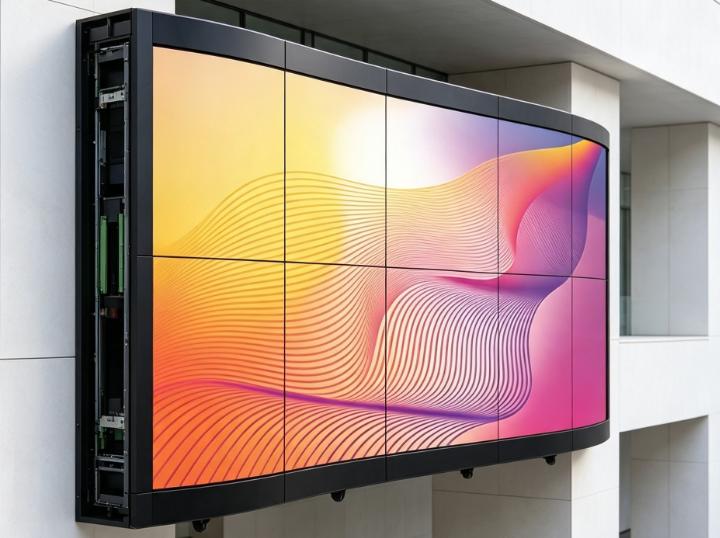
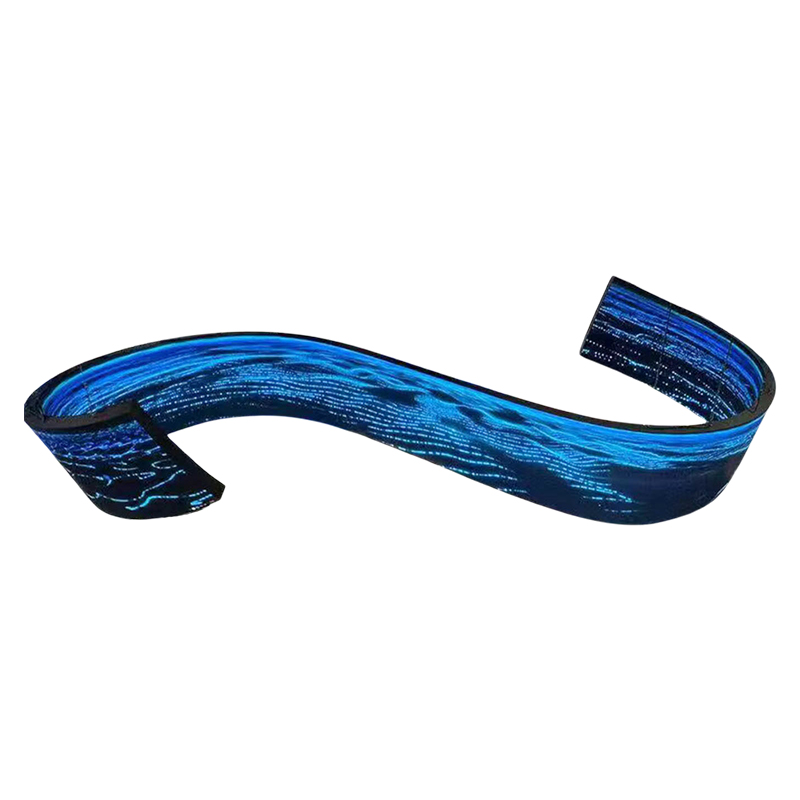
Создать плоскую светодиодную стену несложно, но многие интерьеры магазинов, атриумы, музеи и фасады брендированных зданий не являются плоскими. Полезный вопрос заключается не в том, может ли гибкая панель сгибаться, а в том, останутся ли изгиб, доступ для обслуживания, качество изображения и несущая конструкция предсказуемыми после установки. В этой статье объясняется, как оценить эти параметры, прежде чем концепция изогнутой панели станет дорогостоящим компромиссом. Форма участка определяет подход к его оформлению. Принимая решение, следует учитывать геометрию участка, поскольку экран, который выглядит правильно на фасаде, может выйти из строя по краям, в местах стыков или в точках подключения. Гибкий светодиодный экран полезен, когда поверхность установки имеет выраженную кривую или неровный контур. Зафиксируйте фактическую площадь поверхности, функциональные размеры, точки обзора, препятствия и доступ для технического специалиста. Эти измерения определяют, можно ли надежно установить гибкие панели, изогнутые шкафы или более мелкие жесткие секции. Состояние участка Гибкий подход Укажите для подтверждения Одиночная, плавная дуга Изогнутые модули или гибкие панели Минимальный радиус и расстояние между опорами. Плотно закрытый цилиндр или колонна Гибкие или программно-подключаемые модули Непрерывность шва и зазор для кабеля Смешанные изгибы и углы Секции нестандартной формы Геометрия переходной зоны и доступ к услугам Плоская стена с одним характерным изгибом Гибридная жесткая и гибкая планировка Совместное согласование между системами Радиус — это механическое ограничение, а не рекомендация по проектированию. Каждый гибкий светодиодный дисплей имеет заданный диапазон изгиба, который следует рассматривать как механический предел. Превышение этого диапазона может привести к напряжению, неровным швам или повреждению компонентов. Проверьте радиус изгиба по всей сборке, включая поверхность, крепежные элементы, кабели и защиту. Термин «изогнутая» может описывать совершенно разные результаты. Для широкой дуги могут использоваться изогнутые корпуса, в то время как для узкой колонны может потребоваться гибкое соединение и другой метод опоры. Выбор подходящей конструкции светодиодного дисплея должен определяться измеренной геометрией, а не просто тем фактом, что конструкция описывается как «изогнутая». Гибкие модули решают конкретные визуальные проблемы. Гибкий светодиодный дисплей полезен, когда поверхность дисплея должна повторять изменяющиеся архитектурные контуры. Соединения с помощью гибкой проводки предоставляют модулям большую свободу для следования изогнутым или неровным поверхностям, чем полностью жесткие конструкции, что помогает поддерживать более точное выравнивание между секциями. Наибольший эффект достигается, когда экспозиция является частью пространства, например, изогнутая стена в приемной, колонна, обрамленная панелями, или скульптурный элемент. Однако конструкция все равно должна иметь прочную основу и четкий план замены. Гибкие соединения по-прежнему требуют тщательной установки. Для проводных соединений по-прежнему требуется организованная прокладка кабелей, адекватная защита от натяжения и четкая идентификация. Неправильная организация кабелей может создавать излишнюю нагрузку на разъемы, усложнять обслуживание и увеличивать риск нестабильности сигнала или питания. Перед утверждением ознакомьтесь с данными элементами управления: Укажите на чертеже направление изгиба и минимальный радиус. Оставьте достаточный запас длины кабеля, чтобы движение не создавало натяжения на разъемы. Определите несущую конструкцию таким образом, чтобы светодиодные модули не использовались в качестве несущих элементов. Обеспечьте свободный доступ для замены модулей за декоративной отделкой или окружающими элементами. Проверьте самый малый радиус и наиболее заметный шов. Эти механизмы контроля позволяют сохранять гибкость на протяжении всего процесса, избегая необходимости вносить корректировки на объект в последнюю минуту. Качество изображения зависит не только от кривизны. Конечное качество изображения зависит от шага пикселя, расстояния просмотра, калибровки, обработки, контента и геометрии. Зрители, находящиеся близко, могут заметить швы, которые исчезают на большем расстоянии, в то время как камеры могут выявлять артефакты, связанные с частотой обновления или сканированием, которые не видны невооруженным глазом. Для изогнутого экрана по-прежнему необходим постоянный эталон для калибровки. Калибровка начинается с воспроизводимого эталона. Перед оценкой изогнутой установки проверьте порядок модулей, отображение пикселей, конфигурацию приемной платы и стабильность яркости. Повернутый или неправильно отображенный участок может быть сложнее диагностировать при изменении угла наклона. Используйте одинаковые тестовые материалы как на семинаре, так и при передаче объекта. Тестовые шаблоны нейтрально-серого цвета могут выявить несоответствия яркости, темные градиенты — проблемы с неравномерностью уровня яркости, а мелкий текст — ошибки сопоставления или выравнивания. Проводите тестирование с основных точек обзора, включая боковые стороны. Когда индивидуальная форма лучше, чем непрерывный изгиб Светодиодные дисплеи специальной формы лучше подходят для кругов, сфер, прямых углов или изменяющихся контуров, которые не могут повторять один изгиб. Процесс начинается с точных чертежей и четкого разграничения между поверхностью дисплея, рамой и конструкцией здания. Компания BLC LED предлагает гибкие и креативные системы отображения для таких применений, как дуги, круги, колонны, сферы и кубообразные структуры. Гибридная планировка может снизить риски. Гибридная компоновка позволяет упростить задачу, если изогнутый дисплей требуется только для части стены. Жесткие шкафы могут закрывать плоские участки, а гибкие или изготовленные на заказ модули используются только там, где этого требует геометрия.Эм. Проверьте границу между системами. Подтвердите шаг пикселя, глубину корпуса, калибровку, угол обзора и доступ для обслуживания, чтобы переход оставался визуально и механически согласованным. Практический путь получения разрешений для проектов с изогнутыми светодиодами. В процессе утверждения необходимо ответить на четыре вопроса: Какова точная геометрия? Какая конструкция остается в пределах своих механических ограничений? Как будет проверяться изображение? Как техник заменит вышедший из строя модуль? Необходимо иметь краткий пакет документов для утверждения, включающий чертеж с измерениями, карту радиусов, концепцию опор, трассы прокладки кабелей, зазоры для обслуживания и результаты испытаний. Правильно подобранный гибкий дисплей адаптируется к обстановке и рабочему процессу. Подходящий гибкий дисплей должен повторять заданную геометрию, не создавая сложных процедур обслуживания. Гибкие модули хорошо подходят для предсказуемых кривых, секции нестандартной формы лучше работают при изменении контуров, а гибридные компоновки могут уменьшить объем необходимых специализированных конструкций. Проанализируйте геометрию, опоры, доступ для обслуживания и тестирование изображений одновременно; затем, имея четкое техническое задание, можно рассмотреть более широкий спектр решений для светодиодных дисплеев. Часто задаваемые вопросы Для чего используется гибкий светодиодный экран? Гибкий светодиодный экран используется там, где дисплей должен повторять форму изогнутой, цилиндрической или неправильной поверхности. Он особенно полезен для архитектурных элементов, интерьеров магазинов, выставок и фирменных пространств, где плоский прямоугольник оставит зазоры или нарушит задуманную форму. Как понять, что кривая слишком крутая? Измерьте наименьший радиус во всей установке и сравните его с допустимым диапазоном изгиба выбранной панели или шкафа. При проверке учтите также заднюю панель, разъемы, движение кабелей и способ крепления. Никогда не рассматривайте визуальный макет как доказательство механической совместимости. Подходят ли гибкие светодиодные дисплеи для использования на открытом воздухе? Пригодность зависит от степени защиты конкретного изделия, используемых материалов, яркости, тепловых характеристик и способа установки. Не следует предполагать, что гибкий светодиодный дисплей для использования внутри помещений подходит для наружных условий. Необходимо уточнить экологические характеристики и требования к креплению на предполагаемом объекте. Что следует проверить перед передачей объекта? Протестируйте всю сигнальную цепочку с градиентами, мелким текстом, темным контентом, движением и нейтральными серыми оттенками. Проверьте стыки в основных зонах просмотра, подтвердите соответствие и калибровку, а также выполните пробную замену модуля, пока еще доступен конечный маршрут доступа.
17th Сентябрь 2026

Как обеспечить чистоту изображения на внутренней светодиодной видеостене?

A lobby screen has only a few seconds to do its job. Visitors should be able to read a welcome message, find an event, or recognise a brand without stepping back, squinting, or waiting for an animation to finish. That practical test is a better starting point for an indoor display than a long feature list. Clarity begins with the visitor’s stopping distance Viewing distance is the first control on whether an image looks intentional or merely bright. In a reception area, people may pause close to the screen, walk past it at an angle, or look up while checking in. An indoor LED display screen must therefore make its smallest important text readable from the nearest realistic position, not just look impressive from across the room. Pixel pitch matters because it sets how much image detail can be formed within a given area. A smaller pitch can support finer detail at close range, but it does not rescue an overcrowded message or a poorly placed screen. Treat pitch as part of a reading-distance decision: map the closest standing point, the usual walking route, and the farthest point where the message still has to work. The nearest viewer sets the hard limit The nearest viewer often reveals problems that a wide room view hides. Small text can merge into a gray band, and diagonal graphics can look rough when the image is asked to carry more detail than the screen and distance can comfortably deliver. For that reason, a scale test should use the smallest real-world item that matters. Put the actual reception message, QR code, menu, or wayfinding arrow on a trial canvas. If it is not comfortably readable at the closest intended position, simplify the content or revisit the display plan before moving on to cabinet details. Message hierarchy keeps the wall useful Good lobby content gives the eye one clear task at a time. A screen can carry several messages through the day, yet each frame should make its main message obvious before a visitor has time to look away. This is where an indoor LED video wall earns its space: it can create a continuous canvas, but only if the content respects the way people actually pass through the room. Build each scene around a simple hierarchy: One primary message, such as a welcome, direction, or event name. One supporting detail, such as a time, floor, or short callout. Clear contrast between text and its background. Enough empty space that the message does not compete with decorative motion. Movement should support the message instead of delaying it. Slow, purposeful transitions can make a wall feel alive, while rapid looping effects make text harder to catch for people who enter mid-sequence. A clear first frame is especially valuable in a lobby, where most viewers will not wait for a second chance to read it. Light around the screen changes the result Ambient light affects whether contrast remains comfortable and legible. A wall facing glass, reflective stone, or a bright entry zone may need a different brightness setting from the same wall placed deeper inside the building. The useful target is readable contrast without turning the display into the brightest object in a space meant for conversation or arrival. The installation plan should also allow content calibration. Test a representative colour palette and a plain background during commissioning, then record the agreed settings for future updates. Lobby situation What visitors need to see A practical content response Close check-in point Names and directions Large type, short lines, stable first frame Long approach corridor One recognisable message Strong shape, limited copy, high contrast Waiting area Longer story or programme Slower sequence with clear scene changes A service route protects the visual standard Maintenance access affects clarity long after installation day. A screen that is difficult to reach can leave a failed module, a colour mismatch, or a damaged surface in view for longer than anyone planned. Front or rear access should follow the available building space and a safe component-removal path, not an assumption made after the wall is framed. This is also where a project team can connect visual goals to the actual product structure. BLC LED’s Indoor BT Series uses a rigid 640 x 480 format with high-precision construction, system-backup support, and a hard-wired HUB connection. For a fixed indoor LED screen wall, those features are relevant when the brief calls for orderly alignment and a dependable display path, rather than simply adding specifications to a proposal. The handover should identify the approved brightness profile, common content layouts, the safe service direction, and the steps for checking a replacement module against the surrounding image. Those details help a facilities team restore the intended look under pressure. The screen and the message need one final rehearsal A finished installation should be tested as visitors will use it, not only as technicians see it. Walk the entrance route, stand at the check-in point, and test the welcome line, directional information, and short branded sequence. This rehearsal also exposes whether an indoor LED display is carrying too much. If visitors need to stop and decode the wall, reduce the copy, enlarge the primary message, or break the information into scenes. An indoor advertising LED display screen works best when it gives people a useful cue quickly, then lets the architecture and service experience do the rest. Summary An indoor wall stays clear when the plan begins with the closest viewer, gives every frame a clear message hierarchy, and preserves the image through a realistic service route. For lobby projects, the next decision is not which specification sounds largest; it is whether the proposed screen and content work together at the exact places visitors will stand and move. FAQ Does a smaller pixel pitch always make lobby content better? A smaller pitch can improve close-range detail, but content hierarchy still matters. Large, well-spaced text and clear contrast are often more valuable than adding detail that the message does not need. What content should an indoor LED video wall show first? Show the message a visitor needs immediately, such as a welcome, direction, or event name. Place secondary details after the main message is already clear. Can an indoor LED screen wall handle both branding and wayfinding? Yes, provided the two purposes do not compete in the same moment. Use short wayfinding scenes when visitors need direction, then return to brand content when the screen has more time to tell a story.
3rd Сентябрь 2026

Как один арендованный светодиодный экран может использоваться на разных сценах?

A rental screen earns its place when it moves between stage designs without forcing the crew to relearn the system. A keynote may need a wide wall, while the next show calls for wings, a corner, or a curve. The practical question is whether those shapes can be built predictably with one disciplined workflow. Flexible Inventory Depends on Repeatable Geometry An LED rental screen becomes versatile when cabinet sizes, locks, service access, and signal paths work as one platform. Unrelated cabinets multiply spare-part decisions and assembly habits. A useful system limits those changes while preserving layout flexibility. Panel Sizes Should Solve the Layout Math Stage drawings rarely share one set of proportions. A 500 x 500 mm cabinet gives finer edge control, while a 1000 x 500 mm cabinet reduces handling across a large rectangle. The useful mix reaches common dimensions without creating rarely used panels. This is where a defined rental family becomes relevant. BLC LED’s BP series includes 500 x 500 mm and 1000 x 500 mm indoor panel options. Its high-precision die-cast enclosure supports quick, accurate assembly, so the cabinet platform follows the layout plan. Curves Need a Known Angle and Radius A curve is dependable only when the drawing and cabinet mechanism describe the same geometry. The BP platform supports 45-degree inner and outer curves, and eight cabinets can form a 1.25-meter-diameter circle in the specified configuration. That makes a curved LED screen a planned shape rather than an improvised bend. The radius must still be confirmed for the exact model, connectors, and supporting structure. Cabinets with the same outside dimensions do not necessarily share curve hardware or load paths. Indoor and Outdoor Shows Need Separate Configurations LED screens for events may share a modular appearance, but a ballroom and an open-air festival create different conditions. The inventory plan can preserve one workflow while keeping environmental specifications separate. Indoor and outdoor cabinets should not be treated as interchangeable. Brightness Follows the Venue, Not the Largest Number Indoor BP models provide 600 or 800 nits depending on pitch, while outdoor BP models provide 3,500 to 5,000 nits. Indoor output must work with controlled lighting and cameras; an outdoor stage may need more headroom against daylight. Protection ratings also separate the groups: indoor BP models are IP31, while outdoor BP models are IP65. Naming and packing logic can remain familiar without assigning one configuration to every venue. Viewing Distance Sets the Useful Pixel Pitch Pixel pitch should follow the nearest important viewing position and the level of detail in the content. The BP indoor range covers P1.56 through P3.91, while the outdoor range covers P1.95 through P4.81. A smaller pitch supports closer viewing, but screen size, processing, and budget still matter. A stage rental LED screen therefore needs a layout record with physical dimensions and the expected audience zone. A drawing without its viewing assumptions may fail at the next venue. Fast Changeovers Come From Standard Work Changeover speed depends on decisions made before loading. Cabinet labels, cable maps, controller files, spare locations, and packing order should match the drawing. Stable details let the crew focus on what is genuinely different. A practical show file should contain: A cabinet map with row, column, and curve positions. Power and data routes that match labeled cables. A controller preset named for the event and screen. A spare plan for compatible modules, cabinets, and tools. A quarantine rule for damaged parts. One Repair Should Be Rehearsed Before Show Day Service access matters because a fast build is incomplete if a failed section cannot be reached. BP rental cabinets support front and rear maintenance. The plan should identify which side remains accessible after scenery, speakers, and barriers are installed. A useful rehearsal follows one fault from identification to a restored image. The crew locates the cabinet, isolates power and data, replaces the approved part, confirms alignment, and returns the removed item to a marked case. This exposes missing tools or blocked access before show day. Image Consistency Must Survive Reassembly A rental wall is repeatedly rebuilt, so visual acceptance must be repeatable too. BP indoor and outdoor models list a 3,840 Hz refresh rate with configuration-specific gray levels. The finished image also depends on calibration, controller settings, content, and cameras. An LED wall for events should be checked with demanding content, not only a bright promotional loop. Dark gradients can expose low-level differences, thin text can reveal mapping errors, and side views can reveal a poor joint. A Repeatable Test Scene Makes Acceptance Faster The same test sequence should be used from warehouse preparation through handover. It can include gradients, neutral gray, skin tones, saturated colors, fine text, fast motion, and a controlled full-white check. Camera operators should test frame rate and shutter settings before doors open. The purpose is to separate normal venue differences from mapping, calibration, assembly, or signal faults. The Best Rental System Is the One the Crew Can Repeat One LED rental screen can serve different stages when its flexibility is defined. Repeatable geometry handles flat walls, wings, corners, and curves; separate indoor and outdoor configurations preserve suitability for each venue; and standard show files simplify changeovers. Compare the layouts used most often and confirm which cabinet mix covers them with the fewest exceptions. Share recurring stage drawings, viewing zones, rigging limits, and changeover timing through our project details page. BLC LED can then match the BP platform to the layouts your crew builds. FAQ Can One Rental Platform Be Used Indoors and Outdoors? One platform may offer indoor and outdoor models, but they are not identical. Brightness, protection, power behavior, and operating conditions must match the venue. Which Cabinet Size Works Best for Changing Stage Layouts? A 500 x 500 mm cabinet offers finer control around edges and curves, while a 1000 x 500 mm cabinet reduces handling across large flat areas. The best mix covers recurring drawings without creating rarely used combinations. Can Rental Panels Form a Curved Stage Wall? Yes, when the cabinet includes defined curve hardware. The BP series supports 45-degree inner and outer arcs in its specified configuration. Confirm the radius, connectors, support method, and model before approval. Is a 3,840 Hz Refresh Rate Enough for Live Event Video? A 3,840 Hz refresh rate is a strong foundation, but it does not guarantee every camera result. Gray-level performance, controller settings, camera frame rate, shutter settings, and exposure also matter. Test the full signal chain.
27th Август 2026

Как рассчитать эксплуатационные расходы на наружный светодиодный экран

The purchase price is only the first bill attached to an outdoor display. Electricity, maintenance access, spare parts, and lost advertising time can quietly cost more over the screen’s working life. The useful buying question is therefore simple: which configuration will deliver the required visibility at the lowest realistic annual operating cost? The answer comes from modeling the site, not from choosing the lowest quotation. Put Every Recurring Cost on One Annual Line An outdoor LED screen needs a simple cost model before it needs a product comparison. Add annual electricity, planned maintenance, expected repair labor, access equipment, replacement parts, and the value of likely downtime. Keep installation and purchase costs separate so a cheap cabinet cannot hide an expensive service route. The calculation only needs to expose assumptions and make competing proposals comparable. Cost driver Evidence to collect Annual calculation Electricity Average draw at realistic brightness kW x operating hours x tariff Routine service Visit frequency and crew size Visits x labor and access cost Corrective repair Likely interventions and parts Events x labor, access, and parts Downtime Time to diagnose and restore Lost hours x value per active hour Separate Average Draw From Maximum Load Maximum power helps size electrical equipment, but average power is the better starting point for an energy budget. Content, brightness, and operating hours change actual consumption. Ask bidders to state both figures under defined conditions and compare one scenario. Our Outdoor Ti Series offers an average-power range of 100-200 W/m2 and a maximum range of 650-750 W/m2, depending on configuration and operating conditions. Those ranges are not an electricity bill by themselves. Apply the expected screen area, daily schedule, local tariff, and brightness profile to estimate one. Give Downtime a Financial Value Downtime becomes measurable when the operator values each unavailable hour. For a roadside billboard, that may be contracted media time; for a venue, a disrupted event. Even a rough value shows why fast diagnosis and accessible components can outweigh a small purchase discount. Match Brightness to the Site, Hour by Hour Brightness should follow ambient light rather than remain fixed at its daytime setting. Running an outdoor LED display harder than the site requires wastes electricity and can make nighttime content uncomfortable. The target is sufficient contrast, with lower output when conditions allow. Build a Usable Operating Profile A realistic profile separates full sun, overcast periods, dusk, night, and closed hours. Operators can then test changes without weakening the display’s purpose: Schedule the screen off when there is no audience or contracted content. Use lower brightness settings when ambient conditions allow. Avoid large white backgrounds when the campaign design can work with darker scenes. Review settings seasonally instead of leaving commissioning values untouched. Our Outdoor Ti Series provides model-dependent brightness options from 5,000 to 10,000 nits. The correct setting depends on orientation, shade, local rules, viewing distance, and content. A specification ceiling is capacity, not an all-day setting. Design One Common Repair Before Approving the Structure Maintenance cost is often decided by the steelwork and access route. An LED advertising screen that requires a lift, lane closure, or large crew for a module change will repeat that burden at every visit. The cheaper direction is the one technicians can use safely on site. Compare the Same Module-Swap Scenario Ask each bidder to describe one repair from fault alert to restored image. Count diagnosis, travel, access equipment, crew, removal, replacement, alignment, and testing. This turns “easy maintenance” into a sequence that can be priced. Our Outdoor Ti cabinets support both front and rear access, allowing the service direction to follow the installation. Front access can be useful where there is limited or no usable space behind the screen. Rear access can remain practical when a safe corridor already exists. Neither option is automatically cheaper; the surrounding structure and repeated labor decide the result. A waterproof LED display still needs serviceability. Our Outdoor Ti Series is rated IP65, but technicians must protect seals, connectors, and drainage paths whenever a cabinet is opened. Include those checks in the repair method. Buy Evidence That Protects the Cost Model A forecast is useful only if the delivered screen behaves like the proposal. Before shipment, verify consistent operation, module alignment, controls, and the agreed service procedure. Product verification should protect the cost model, not become a list of claims. At BLC LED, our quality-control process includes incoming inspection, in-process control, finished-product testing, and a 72-hour burn-in test. For a large outdoor LED video wall, the acceptance review should also reproduce the intended brightness schedule, check power readings, confirm front or rear removal, and record the controller configuration. A documented pre-shipment verification can help catch an expensive mismatch before freight and site labor make correction harder. The handover should include labeled spares, configuration backups, maintenance instructions, and fault-escalation contacts. These items shorten diagnosis and help the operator update the model with actual data. Use a Cost Rule That Remains Useful After Installation The best decision is the configuration with the lowest credible annual cost while meeting visibility, safety, and uptime needs. Compare average power under one operating profile, price one common repair, value downtime, and verify those assumptions before shipment. After launch, review electricity and service records quarterly; the model should become more accurate as the operator learns how the site behaves. For a project-specific comparison, share the screen area, location, operating schedule, access constraints, electricity tariff, and uptime target through our project contact page. We can map those inputs to an outdoor configuration without treating maximum specifications as everyday requirements. FAQ How Do I Estimate Annual Electricity Cost? Multiply expected average power in kilowatts by annual operating hours and the local electricity tariff. Use a day-and-night brightness profile instead of maximum power, which is mainly relevant to electrical-system sizing. Does Lower Brightness Always Mean Lower Operating Cost? Lower output generally reduces energy demand, but brightness must still protect visibility and the commercial purpose of the screen. The useful saving comes from matching output to ambient light and active audience hours. Is Front Service Always Cheaper Than Rear Service? No. Front service can avoid a rear corridor and shorten some repairs, while rear service may be efficient where safe access already exists. Price the same repair scenario for the actual structure before deciding. What Should a Pre-Shipment Test Cover? The test should cover image uniformity, controller settings, power behavior, brightness control, component removal, reassembly, and the agreed fault-recovery steps. Record the accepted configuration for site commissioning. How Often Should the Cost Model Be Updated? Review it quarterly during the first year, then at a frequency that matches operational change. Update actual energy use, service labor, parts, access costs, downtime, tariffs, and operating hours so future decisions use site evidence.
20th Август 2026

Как нестандартный светодиодный дисплей вписывается в архитектуру?

Introduction An irregular LED display fits architecture when its geometry, pixel layout, support structure, service access, and content are engineered as one system. Buyers should start with drawings and viewing conditions rather than selecting a standard cabinet first. This approach helps a custom screen follow curves, corners, columns, or sculptural forms while giving architects, contractors, advertisers, and integrators a clear basis for comparing proposals. Why Standard Rectangles Create Design Conflicts A conventional rectangular screen works well on a flat wall, but it can force awkward framing around curved or three-dimensional surfaces. An irregular LED display becomes part of the architectural form. It may wrap a column, turn a corner, form a ring, or create a freestanding object. Geometry Must Be Defined Before Cabinet Selection Accurate geometry is the first control point for a custom LED display. The supplier needs overall dimensions, radius, angle changes, mounting points, tolerances, and required openings. A curved LED screen designed from an approximate radius can produce gaps or stress modules and frames. Clear drawings show whether an angled cabinet, flexible module, or purpose-built enclosure is practical. Content Must Follow the Physical Surface Content planning is the second control point because unusual shapes change how images are viewed. A flexible LED display wrapped around a cylinder needs a different pixel map from a flat canvas. A creative LED display shaped as a sphere, cube, or disc needs safe zones for logos and text. Request a content template before production so the media team can test graphics across seams, corners, and curves. Match the Display Structure to the Shape The right structure depends on whether the form is curved, sharply angled, three-dimensional, fixed, or frequently moved. A custom LED display can be produced as arcs, circles, spheres, cubes, and other tailored forms, with dimensions adjusted to project requirements. BLC LED also supports modules that can follow highly curved surfaces. Flexible Modules Suit Continuous Curves A flexible LED display suits a smooth, continuous bend or non-flat substrate. The project still needs a stable support surface, accurate module alignment, organized power and signal routing, and a realistic maintenance method. Flexible modules do not replace structural engineering. Angled Cabinets Suit Repeatable Facets An angle-adjustable cabinet can suit repeatable facets, inner curves, or outer curves. BLC LED rental BP cabinets can form 45-degree inner and outer arcs with precision joints. This approach gives a curved LED screen predictable alignment, especially when it must be dismantled and rebuilt. The final choice should follow the radius and transport plan. Use these practical distinctions during concept review: Choose flexible modules for smooth curves and closely integrated surfaces. Choose angled cabinets for repeatable radii, faceted forms, or rental use. Choose purpose-built frames for spheres, cubes, discs, counters, and branded objects. Confirm the support structure before approving the visual design. Engineer Maintenance Before Fabrication Maintenance access is easiest to solve before frame manufacture. A creative LED display may look clean yet become difficult to operate if technicians cannot remove a module, power supply, or receiving card. Wall-flush, recessed, cylindrical, and sculptural installations often favor front access because rear space may not exist. Freestanding structures may allow rear access when a safe route is built into the frame. Specify a Component-Removal Path A maintenance plan should show how each serviceable part reaches the technician. For a curved LED screen, it must also protect neighboring modules during removal. Ask for the tools, access direction, cable clearances, spare-part position, and realignment steps. This evidence is more useful than a general promise of easy maintenance. Build a Complete RFQ Package A strong request for quotation reduces assumptions and makes supplier proposals easier to compare. Send the same project information to every bidder: Dimensioned architectural drawings, radius, angles, and mounting points. Intended indoor or outdoor location and expected viewing distances. Required shape, active display area, and preferred pixel pitch. Front-service or rear-service constraints and available working space. Content sources, playback formats, control method, and pixel-map needs. Packing, installation, commissioning, training, spares, and support expectations. This RFQ package separates a production-ready proposal from an attractive concept with unresolved engineering details. It also improves discussions about quality, risk, and operating effort. Verify Manufacturing and Quality Control Manufacturing control matters because dimensional errors can repeat across an entire custom LED display. BLC LED integrates research and development, production, sales, and service, supporting coordination from drawings through assembly. Its documented process includes incoming, in-process, and finished-product inspection, plus a 72-hour burn-in test before shipment. A pre-shipment review should confirm geometry, seam consistency, playback, controller configuration, and service procedure. For a shaped installation, assembly photos, video, or remote inspection can reveal mapping errors before international transport. Buyers should also request labeled packing and an installation sequence matching the approved drawings. Request an Engineering Review A workable design starts with accurate project inputs. Share your drawings, viewing distances, installation conditions, service constraints, and content requirements with BLC LED to discuss a creative LED display solution. The engineering review can then compare flexible modules, angled cabinets, and purpose-built structures before the shape and quotation are finalized. FAQ Can an Irregular LED Display Follow Any Shape? An irregular LED display can support arcs, circles, spheres, cubes, discs, counters, and other custom structures. Feasibility depends on radius, module size, structural support, viewing direction, service access, and content mapping. Is a Flexible LED Display the Same as a Curved Screen? A flexible LED display is one way to create a curve; another is an angle-adjustable cabinet or custom frame. The suitable method depends on continuous bends, repeatable facets, portability, and permanence. How Should Buyers Select Pixel Pitch for a Creative LED Display? A creative LED display should use a pixel pitch matched to viewing distance, content detail, surface geometry, and budget. Review simulated content at realistic scale because text and fine graphics behave differently across corners and curves. How Should a Curved LED Screen Be Maintained? A curved LED screen should have a documented front- or rear-service route, suitable removal tools, labeled cables, accessible spare parts, and an alignment procedure. The maintenance method should be tested during factory assembly rather than decided after installation.
13th Август 2026

Есть ли у вас какой-нибудь дизайн? Поддерживать

контакт
Дом
WhatsApp
Электронная почта
Контакты